The internet landscape is changing. For website owners, it is essential to deliver an accessible and seamless user experience by ensuring all visitors including people who are blind, hearing or vision impaired, motor impaired, color blind, dyslexia, cognitive & learning impaired, seizure & epileptic, and with ADHD problems; can see, understand, navigate, and easily use Adobe Experience Manager website conveniently!
Kick-start your efforts into improving website accessibility in a cost-effective way with AEM Accessibility installation - an AI based accessibility solution for quick website accessibility improvements. It allows users to select available accessibility features as per their needs and peruse the content. It improves website accessibility for the standards including ADA, WCAG 2.0, WCAG 2.1, WCAG 2.2, Section 508, Australian DDA, European EAA EN 301 549, UK Equality Act (EA), Israeli Standard 5568, California Unruh, Ontario AODA, Canada ACA, German BITV, France RGAA, Brazilian Inclusion Law (LBI 13.146/2015), Spain UNE 139803:2012, Japan JIS X 8341, Italian Stanca Act, Switzerland DDA, and Austrian Web Accessibility Act (WZG)!
Explore the following steps to integrate All in One Accessibility widget on Adobe Experience Manager website:
- Download the “All in One Accessibility” Package for Adobe Experience Manager.
Now, Go to Experience Manager.
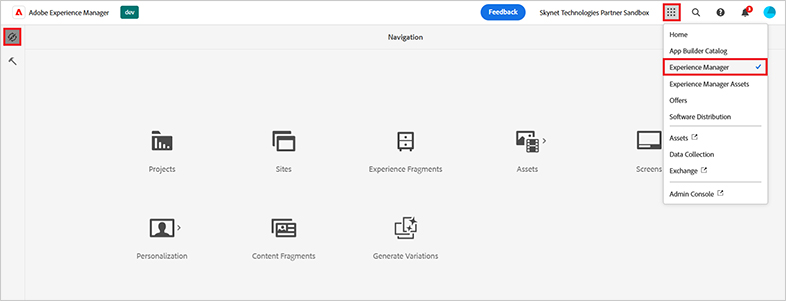
Click Adobe Experience Manager setting → Deployment → Packages.
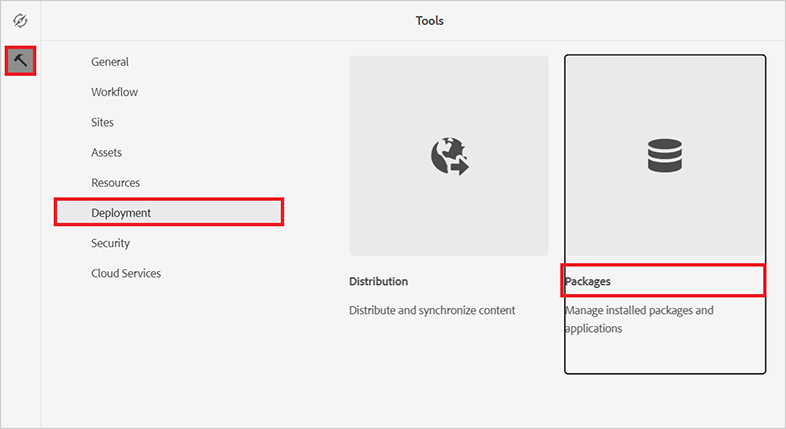
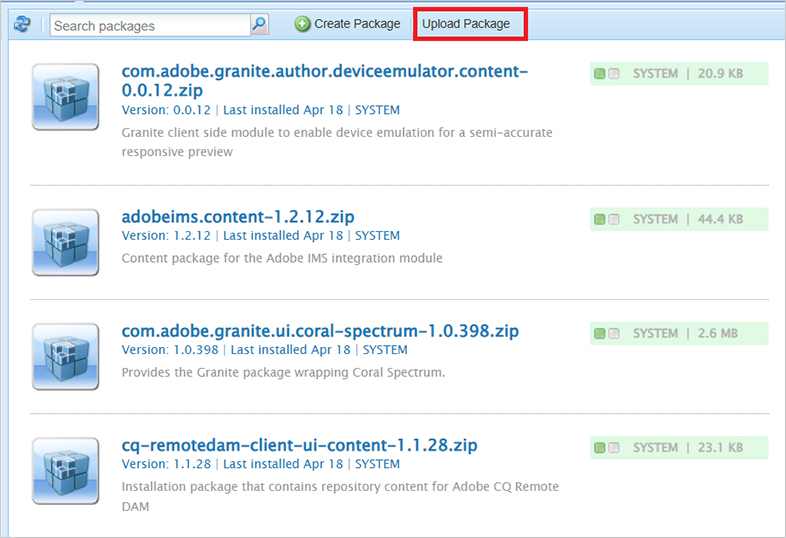
Click on “Upload Package”.
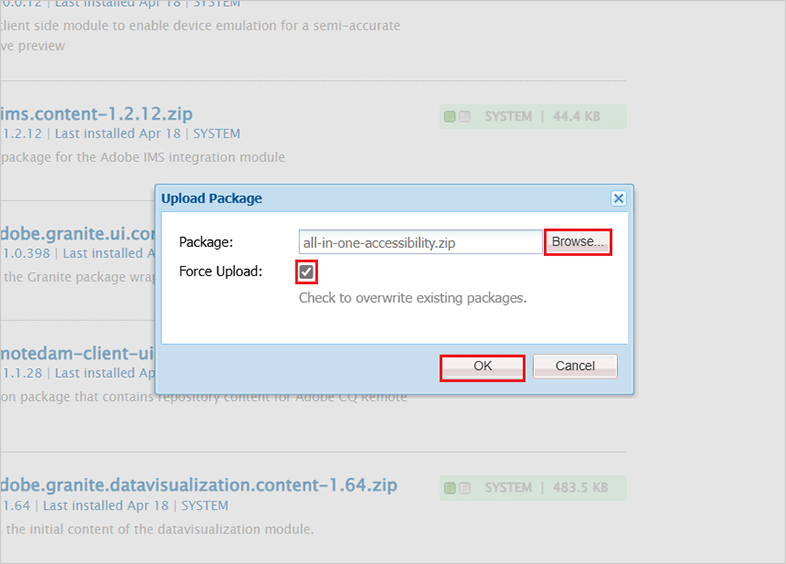
Upload the “all-in-one-accessibility.zip” file and select “Force Upload” as shown in the following reference.
Launch the application on the Experience Cloud Shell and run the command “aio app run” in your command prompt.
aio app run
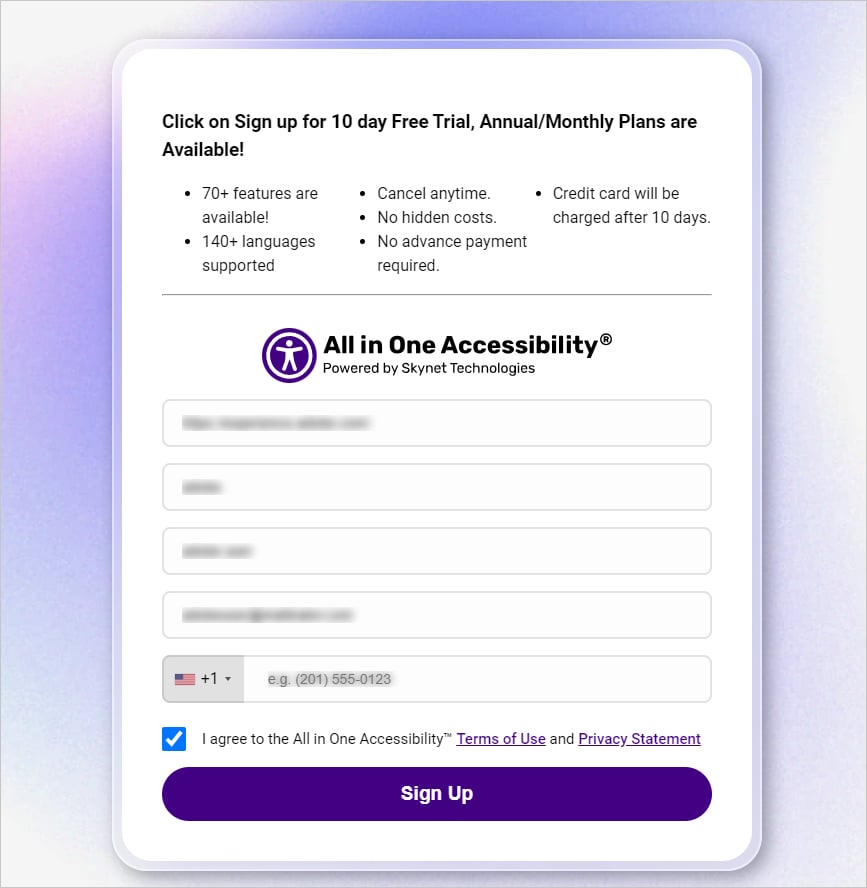
Once the command is executed, please go to the “All in One Accessibility app” setting and fill in all the necessary details to start your trials.
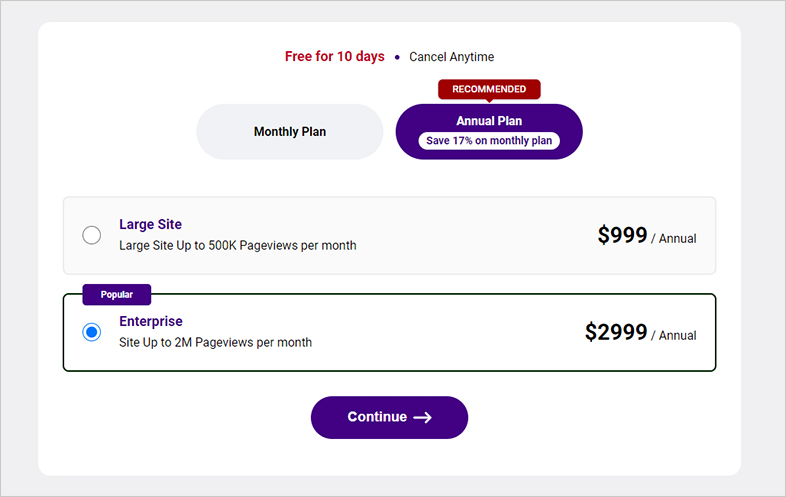
Select the “All in One Accessibility widget plan.”
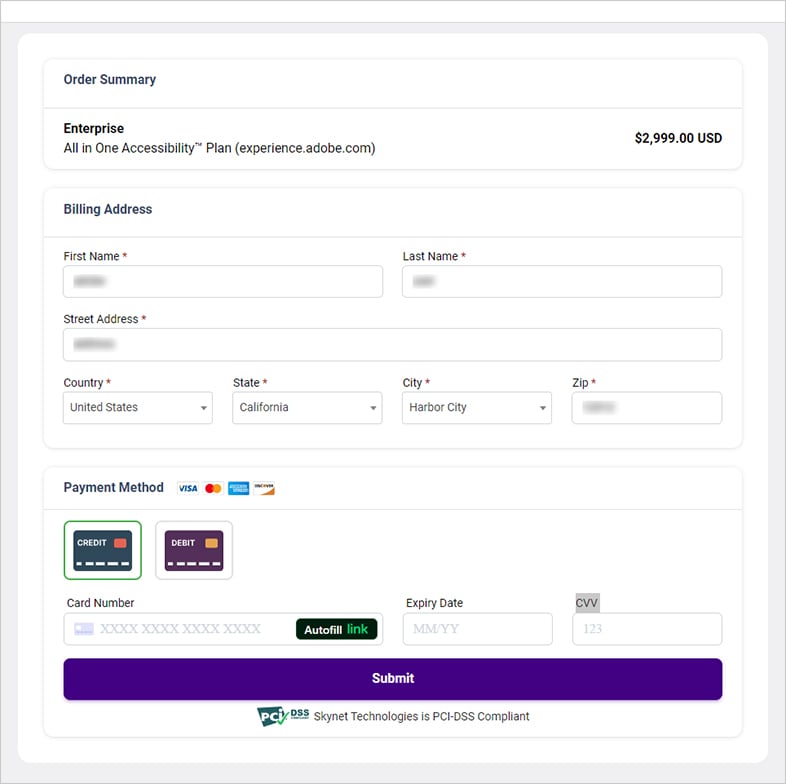
Here you can provide your Billing address and card details to start your free trial.
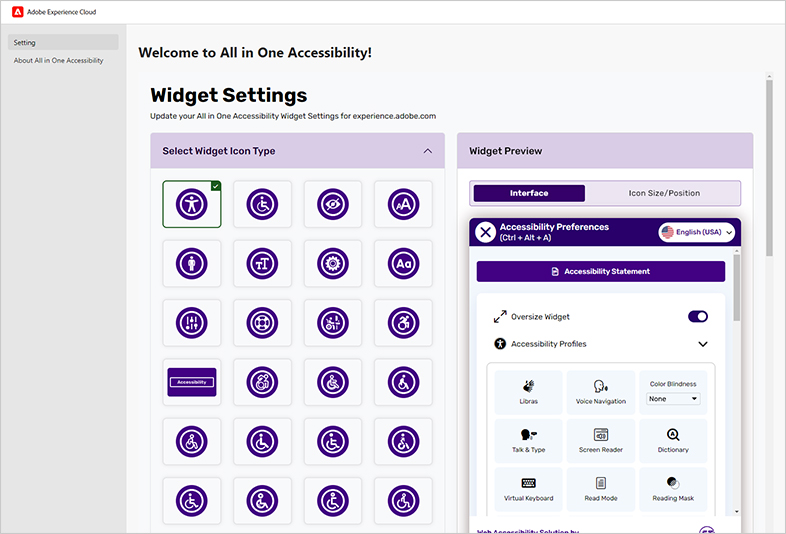
Click the “Widget Setting” button to configure the Widget.

You can manage the “All in One Accessibility” widget by choosing the Widget icon type, size, color, and position settings.
Verify that the “All in One Accessibility” widget is now visible on your site.
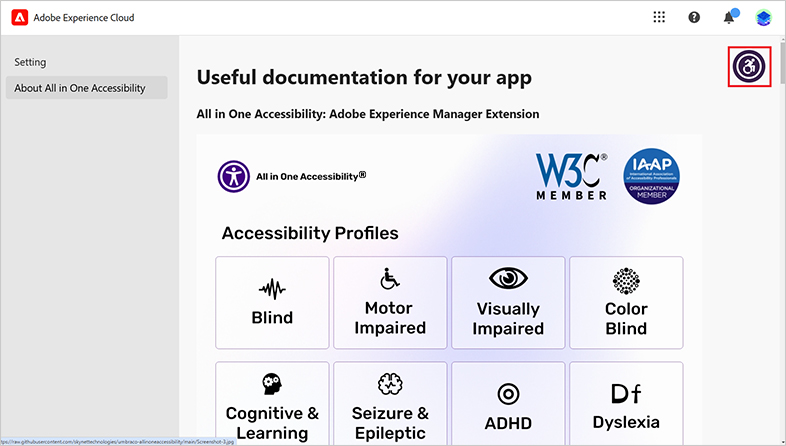
All in One Accessibility Widget will look like after configuration.
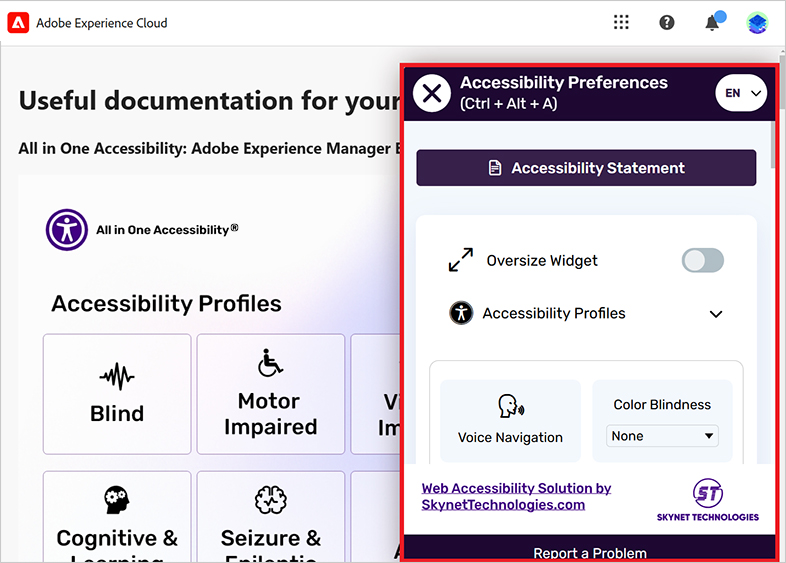
Reach out if you need any help with the installation or technical assistance! We’d love to help!
Skynet Technologies is a proud W3C (World Wide Web Consortium) and IAAP (International Association of Accessibility Professionals) member that help us to be a part of the global accessibility community and stay up to date with compliance guidelines.
The businesses, large enterprises, Federal and state governments, educational institutions and universities who are considering remediating websites with full ADA WCAG 2.0, WCAG 2.1, WCAG 2.2 compliance; we provide best WCAG remediation including audit, consulting, website remediation, document accessibility remediation, VPAT accessibility conformance report, regular maintenance, monitoring, training, and support.
If you are looking for enterprise or custom web accessibility solutions, request a free Accessibility fix estimate for ADA websites or email us at hello@skynettechnologies.com.


